The Tevo Tarantula is a popular and affordable 3D printer, beloved by hobbyists and makers alike. However, like any entry-level machine, it has areas where it can be improved. By integrating an Arduino board, you can unlock a world of possibilities, enhancing the printer’s performance, precision, and overall user experience. This guide delves into the top 5 upgrades you can implement on your Tevo Tarantula, leveraging the power of Arduino to take your 3D printing to the next level. From bed leveling improvements to advanced control, these upgrades will transform your printer and elevate your projects.
Top 5 Tevo Tarantula Arduino Upgrades
This list presents the best upgrades to consider for your Tevo Tarantula, along with the benefits and how to implement them. Each upgrade focuses on a specific area, offering a comprehensive approach to enhance your printing experience. By following this guide, you can significantly improve the quality, reliability, and ease of use of your 3D printer, resulting in more successful prints and a more enjoyable hobby. Remember to always prioritize safety and carefully follow instructions when modifying your printer.
Upgrade 1 Enhance the Bed Leveling
Bed leveling is arguably the most crucial aspect of 3D printing. A properly leveled bed ensures that the first layer adheres correctly, which is essential for successful prints. The Tevo Tarantula’s stock bed leveling system can be challenging. Integrating an Arduino allows for more sophisticated and accurate bed leveling methods.
Adding an Automatic Bed Leveling Sensor

One of the most effective upgrades is adding an automatic bed leveling (ABL) sensor, such as an inductive or capacitive sensor. These sensors use an Arduino board to automatically map the bed’s surface and compensate for any imperfections during printing. This eliminates the need for manual leveling and significantly improves print adhesion. The Arduino will read the sensor data and adjust the Z-axis height accordingly, ensuring a consistent first layer. The process typically involves connecting the sensor to the Arduino, configuring the firmware (Marlin is a popular choice), and calibrating the system. See the image tevo-tarantula-arduino-bed-leveling.webp.
Implementing Firmware Adjustments
Once the ABL sensor is installed, you’ll need to configure your printer’s firmware. Marlin firmware is a popular open-source option that offers extensive customization options. Within Marlin, you’ll enable features such as ‘Auto Bed Leveling’ and configure the sensor’s offset. Calibration is crucial; this involves setting the sensor’s Z-offset, which determines the distance between the sensor and the nozzle. Through careful calibration, you’ll ensure the nozzle is at the correct height when printing the first layer. These adjustments dramatically improve print success rates.
Upgrade 2 Improve the Extruder System
The extruder system plays a vital role in the quality of your prints, affecting the flow of filament and the overall print accuracy. The stock extruder on the Tevo Tarantula, while functional, can be improved for better performance. Upgrading the extruder system can lead to more reliable filament feeding, reduce issues like clogging, and allow for the use of a wider range of filament types.
Replacing the Stock Extruder

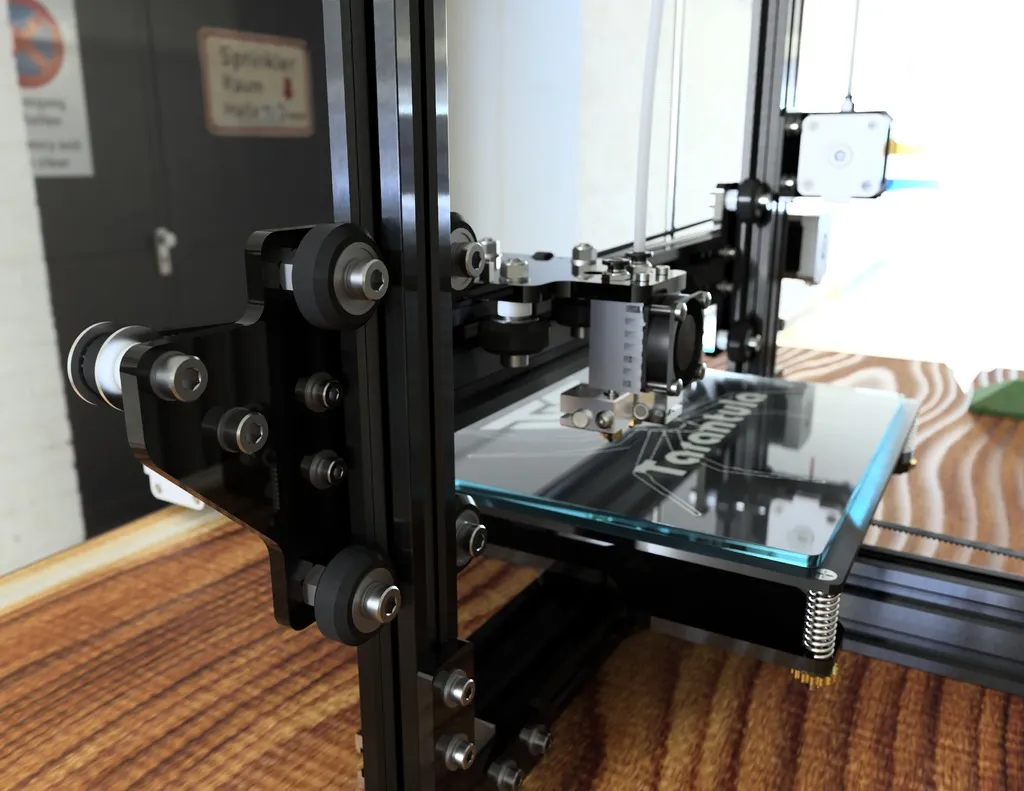
The stock extruder often struggles with flexible filaments and can be prone to jams. Replacing it with a higher-quality extruder is a straightforward upgrade. Consider options such as a geared extruder, which provides more torque and better control over filament feeding. These extruders reduce the chances of filament slipping and provide more consistent extrusion. Before replacing the extruder, consider the space on your machine and how easily it can be attached. Look at the image tevo-tarantula-arduino-extruder.webp.
Upgrading to a Direct Drive Extruder
For even greater precision and the ability to print a wider range of filaments, consider upgrading to a direct drive extruder. In a direct drive setup, the extruder motor is mounted directly on the print head, close to the hot end. This minimizes the distance filament must travel, resulting in more precise control and less stringing. Direct drive systems are especially beneficial when printing flexible filaments or intricate designs. Keep in mind that this upgrade often requires some mechanical modifications and firmware adjustments.
Upgrade 3 Boost Print Quality with Arduino Control
Using Arduino can boost the quality of the Tevo Tarantula by allowing for advanced control over printing. With an Arduino, you can implement changes and customization to print settings that can improve quality, accuracy, and reliability. By integrating Arduino into the system, makers can have better control, which leads to better prints.
Integrating an Arduino-Based Controller

The most common way to implement this is to replace or supplement the existing control board with an Arduino-based one. This is normally done by flashing firmware onto the arduino that will control the stepper motors, heaters, and other components of the printer. Connecting the Arduino to these components allows for customized control and monitoring of various aspects of the printing process. It will also provide the ability to customize settings in a way that the original system could not.
Customizing Print Settings via Arduino
Arduino allows for creating custom print profiles. You can fine-tune temperature, speed, and retraction settings on a per-layer or per-feature basis. This level of control results in superior print quality and the ability to handle complex designs more effectively. With the Arduino, you can also create custom scripts and routines to automate various processes, optimizing the printing workflow and reducing manual intervention.
Upgrade 4 Optimize Cooling Solutions
Effective cooling is crucial for achieving high-quality prints, especially when printing overhangs and bridges. The stock cooling system on the Tevo Tarantula might not always provide sufficient airflow. Improving cooling solutions prevents warping, improves the dimensional accuracy of prints, and allows for faster printing speeds. This section explores the most effective cooling upgrades.
Installing a Better Part Cooling Fan

Upgrading the part cooling fan is a simple and highly effective way to improve print quality. A more powerful fan or a fan with better airflow characteristics can direct air more precisely onto the printed part, solidifying each layer before the next is laid down. Consider upgrading the fan to a higher CFM (cubic feet per minute) fan or a blower-style fan that provides more focused airflow. When upgrading the fan, ensure the fan is compatible with the Arduino controller and adjust the cooling settings in your firmware or slicing software. Check out the image tevo-tarantula-arduino-cooling.webp.
Designing Custom Fan Ducts
In addition to upgrading the fan, designing and installing custom fan ducts can significantly improve cooling efficiency. Fan ducts direct the airflow from the fan onto specific areas of the print, such as overhangs and bridges. You can design and print custom ducts using your 3D printer or other fabrication methods. Ducts can be designed to direct airflow from multiple angles, providing more comprehensive cooling. These custom ducts can be tailored to your specific print needs and can significantly enhance print quality.
Upgrade 5 Upgrade the Firmware
The firmware is the software that controls your 3D printer. Upgrading the firmware on your Tevo Tarantula opens up advanced features and options. Firmware upgrades can improve print quality, enhance the printer’s functionality, and fix bugs or limitations of the stock firmware. Updating the firmware ensures you’re running the latest features and are able to calibrate your printer.
Updating to Marlin Firmware

Marlin is a popular and powerful open-source firmware commonly used with Arduino-based 3D printers. It offers extensive customization options, including support for various bed leveling systems, advanced control algorithms, and a wide range of printer configurations. Updating to Marlin firmware often involves flashing the firmware to the Arduino board. The process includes downloading the Marlin firmware, configuring it for your printer’s specific hardware, compiling the firmware, and uploading it to the Arduino board. After a successful update, you can access and customize a variety of settings through the printer’s interface.
Calibrating the Printer After Upgrades
After each upgrade, and especially after a firmware update, careful calibration is essential to ensure optimal print quality. Calibration involves adjusting various settings, such as the bed level, extruder temperature, and flow rate, to match the new hardware and firmware. Calibration prints (e.g., a temperature tower or a calibration cube) allow you to fine-tune your settings and identify potential issues. Regularly calibrating your printer after upgrades ensures that your printer is performing at its best.
By implementing these upgrades and integrating an Arduino, you can transform your Tevo Tarantula into a highly capable and versatile 3D printer. Each upgrade offers tangible benefits, leading to improved print quality, enhanced reliability, and a more enjoyable 3D printing experience. Remember to research each upgrade carefully, follow the instructions, and always prioritize safety. With a little effort, you can take your Tevo Tarantula from a basic 3D printer to a custom-built machine capable of producing exceptional prints.